Hello besties!!! Welcome to Sophie Tinie Free 💗
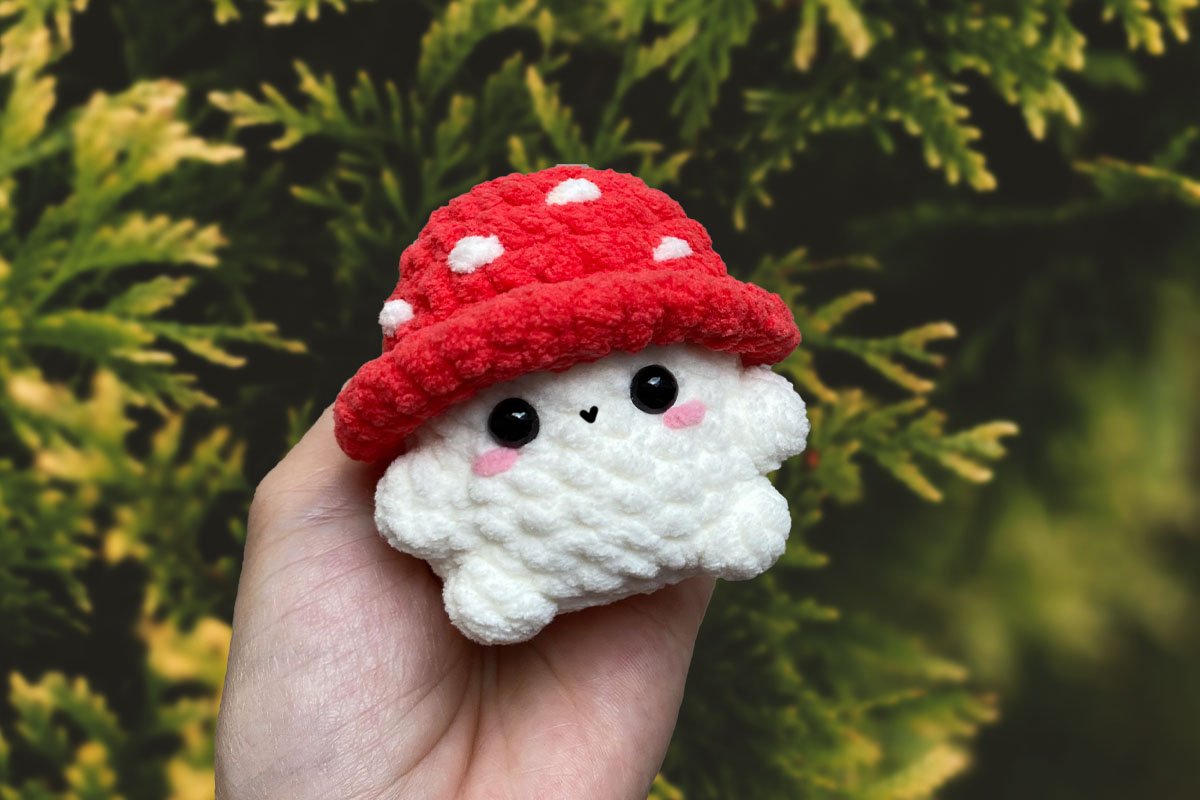
In this blog post, I’m sharing a free pattern on how to crochet the cutest little no-sew Mushy Boi!!! You might have already seen this pattern floating around, and Yes, this is the version I’ve collected and rewritten here for you 😊 🍄 🍄🟫
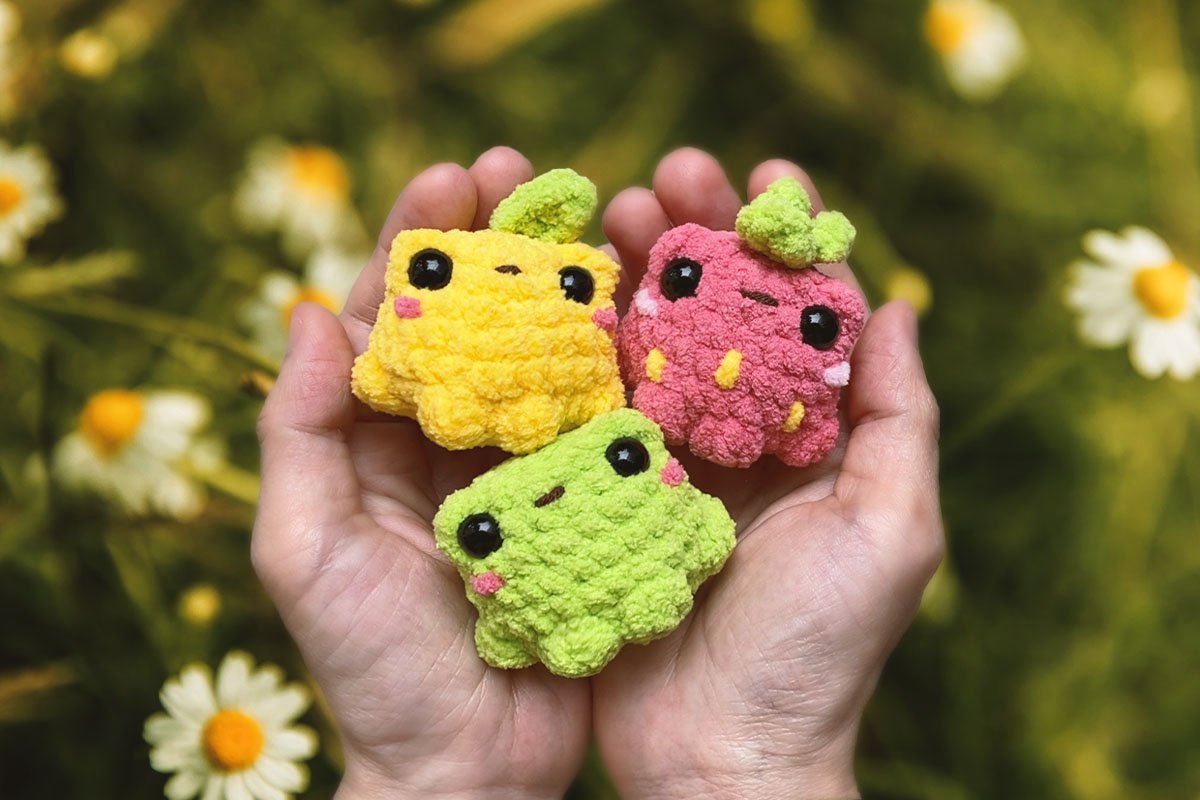
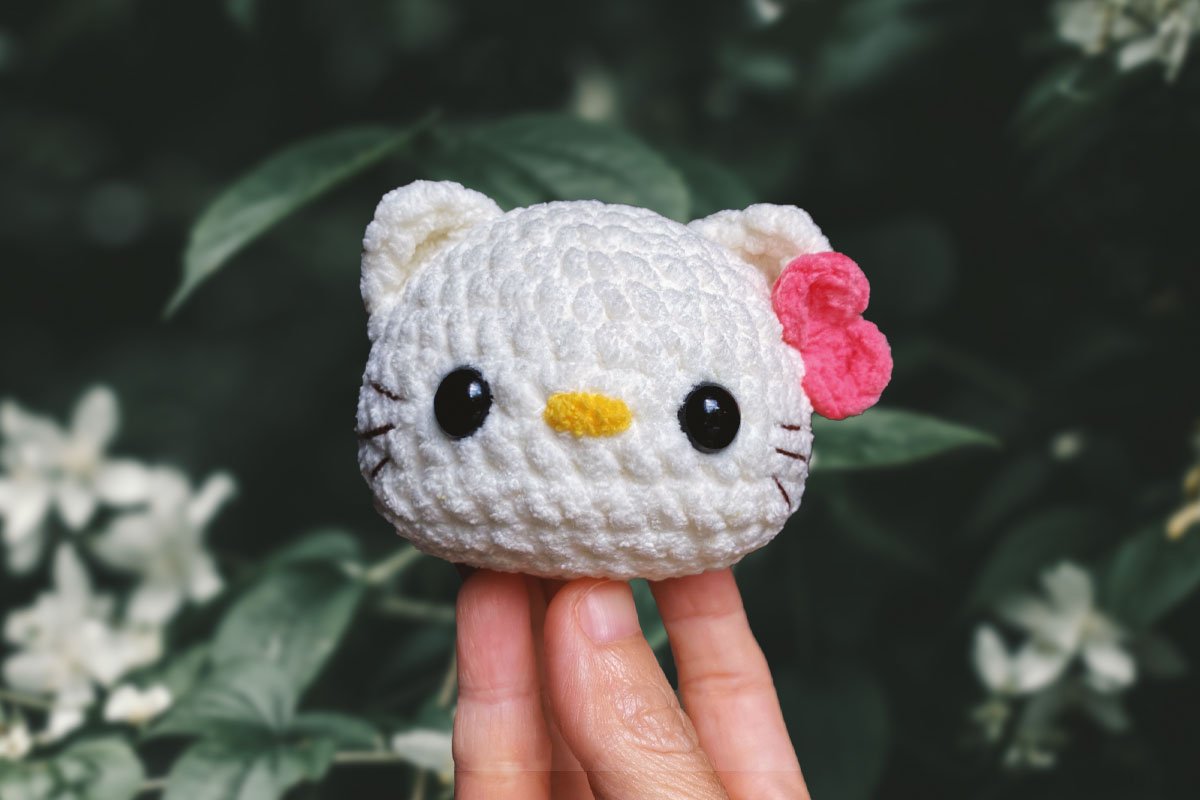
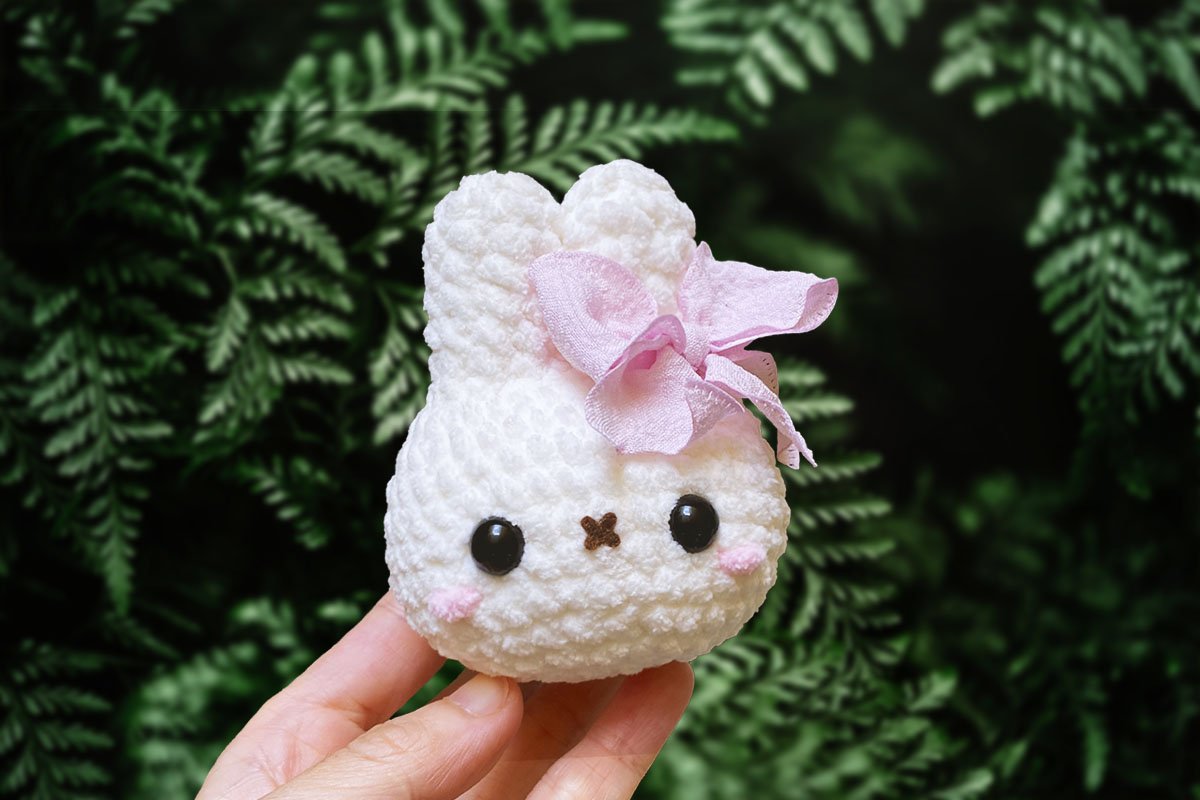
The best part? You can make your Mushy in so many different colors and styles. They’re perfect as home décor, keychains, thoughtful gifts, or to prepare a bunch for your next craft fair!!!
Watch the free BEGINNER FRIENDLY tutorial along with the written pattern so you won’t miss a single step!!! It’ll make your crochet time super easy and fun!
Are you ready? Before we jump in, let’s go over some common questions to help you get started.
Things To Know Before You Start
1. Choose The Yarn You Love
You can use any type of yarn you love, like cotton, plush, velvet, and so on paired with the right hook size. Different yarn thickness will change the size of your crochet piece: thinner yarn makes smaller piece, thicker yarn makes bigger piece.
2. My Crochet Method
My crochet method – I use the Yarn Under and the pieces are worked in Joined Round Method.
The Joined Round Method means you will end each round by joining the last stitch to the first stitch with a slip stitch, then chain 1 to start the next round. This method eliminates jogs and keeps the rounds even.
When joining rounds, you can use the main hook for the slip stitch, but I recommend changing to a smaller hook. Using a smaller hook creates a tighter, almost invisible slip stitch, which helps avoid any confusion with extra stitches. After making the slip stitch, you’ll also use the smaller hook for the chain 1, then change back to the main hook to continue crocheting.
And for the next round, the first stitch should always be made into the same stitch where you just made the slip stitch!
If you don’t want to use the Joined Round Method, you can absolutely use the Spiral Round (Continuous Round) Method, which means crocheting continuously while using a marker to keep track of the first stitch in each round.
3. Tension Differences
I crochet with a very tight tension. So, if you use the same yarn and hook size as me but your crochet piece turns out bigger or longer, that’s totally normal! You can adjust by adding or removing rounds where the stitch count stays the same.
↳ For example, in the pattern:
Rounds 5 to 12: 30sc (8 rounds)
But if your tension is looser and 8 rounds make your crochet piece look too stretched or long, you can reduce 1 to 3 rounds to get the perfect shape.
4. Safety First for Little Ones
If you’re making this as a gift for a baby or young child, I recommend embroidering the details like the eyes, nose, and mouth instead of using plastic safety parts. Embroidered features are much safer for little ones 🙂
Now that you’ve read the tips, let’s move on to the Materials you’ll need!!!
Materials
1. Yarn. I used Bulky (weight 5) yarn for the Hat and Body.
– Less than 10 grams of Red yarn for the Hat.
– Less than 10 grams of White yarn for the Body.
– Pink yarn to embroider the Blush.
2. Crochet hook suitable with your yarn.
– I used a 4mm main hook.
– And a 3mm support hook for joining the round, but you can also just use the 4mm hook instead. If you choose to crochet in Spiral Round Method (Continuous Round), just skip the support hook and the join-round part.
3. Safety eyes. I used 9mm.
4. Tapestry needle.
5. Markers.
6. Scissors.
7. Stuffing.
8. Tweezers (optional)
Abbreviations (US Terms)
MR: magic ring
st/sts: stitch/stitches
ch: chain stitch
slst: slip stitch
sc: single crochet stitch
dc: double crochet stitch
inc: increase stitch
dec: decrease stitch
BO: bobble stitch
↳ BO is the bobble stitch with a group of three to five incomplete double crochet stitches together, depending on your yarn’s thickness. Since I use bulky yarn, I make my BO with four incomplete double crochets.
FLO: crochet through front loops only
BLO: crochet through back loops only
(…)*x: repeat the instructions in brackets x times
Finished Size
The finished Mushy Boi measures approximately 6cm (2.4 inches) tall. Size may vary depending on crochet tension and materials (yarn & hook) used.
Pattern Instructions
Crochet the Hat
With Red yarn,
Round 1. 6sc in a MR (6) / Join Round with 1slst, 1ch – If you crochet in Spiral Round Method (Continuous Round), just skip the join-round part.
Check the tutorial for detailed instructions on Round 1 and How to join the round.
Round 2. 6inc (12) / Join Round with 1slst, 1ch – If you crochet in Spiral Round Method (Continuous Round), just skip the join-round part.
Round 3. (1sc, 1inc)*6 (18) / Join Round with 1slst, 1ch – If you crochet in Spiral Round Method (Continuous Round), just skip the join-round part.
Round 4. (1sc, 1inc, 1sc)*6 (24) / Join Round with 1slst, 1ch – If you crochet in Spiral Round Method (Continuous Round), just skip the join-round part.
Rounds 5 and 6. sc around (24) (2 rounds) / Join Each Round with 1slst, 1ch – If you crochet in Spiral Round Method (Continuous Round), just skip the join-round part.
Round 7. FLO (3sc, 1inc)*6 (30) / Join Round with 1slst, 1ch – If you crochet in Spiral Round Method (Continuous Round), just skip the join-round part.
Mark the first back loop with a marker so you can find it later.
Check the tutorial for detailed instructions on Round 7.
Round 8. (2sc, 1inc, 2sc)*6 (36) / Join Round with 1slst, 1ch – If you crochet in Spiral Round Method (Continuous Round), just skip the join-round part.
Fasten off and sew the finishing loop for a neat look. Hide the yarn tail.
Check the tutorial for detailed instructions on How to sew the finishing loop.
Crochet the Body
Change to White yarn at the marked back loop,
Check the tutorial for detailed instructions on How to change the yarn color.
Round 9. BLO sc around (24) / Join Round with 1slst, 1ch – If you crochet in Spiral Round Method (Continuous Round), just skip the join-round part.
Rounds 10 and 1. sc around (24) (2 rounds) / Join Each Round with 1slst, 1ch – If you crochet in Spiral Round Method (Continuous Round), just skip the join-round part.
Round 12. 7sc, 1BO, 8sc, 1BO, 7sc (24) / Join Round with 1slst, 1ch – If you crochet in Spiral Round Method (Continuous Round), just skip the join-round part.
Check the tutorial for detailed instructions on How to make the BO stitch.
Rounds 13 and 14. sc around (24) (2 rounds) / Join Each Round with 1slst, 1ch – If you crochet in Spiral Round Method (Continuous Round), just skip the join-round part.
Round 15. sc around and make 2BO for the lower paws, with 6sts between the two paws. Use 2 markers to mark the stitches where the BOs are made to keep the paws even. / Join Round with 1slst, 1ch – If you crochet in Spiral Round Method (Continuous Round), just skip the join-round part.
Check the tutorial for detailed instructions on Round 15.
Insert the eyes between rounds 10 and 11, 3sts apart.
Check the tutorial for detailed instructions on How to insert the eyes.
Round 16. (1sc, 1dec)*8 (16) / Join Round with 1slst, 1ch – If you crochet in Spiral Round Method (Continuous Round), just skip the join-round part.
Stuff the Mushy Boi firmly.
Round 17. 8dec (8)
Fasten off. Weave the yarn tail through the front loops of the last round and pull it tight to close off the piece. Hide the yarn tail inside.
Finish the Chonky Mushy Boi
– Embroider the Rosy Cheeks for the Mushy Boi using pink yarn.
– Embroider some white Spots onto the red hat using white yarn.
Check the tutorial for detailed instructions on How to embroider the Cheeks and white Spots.
From Sophie Tinie 🎀
Thanks so much for stopping by and checking out this collected crochet pattern on my website! I hope it brings you a little spark of joy and inspires you to pick up your hook 😊
I can’t wait to see the adorable pieces you create. If you have a question, feel free to drop a comment, I’d love to hear from you!
Happy crocheting 💗